Thursday 19 September 2013

How long!!!!!!

Jeepers!
Is it really July that I last updated this.

It doesn't seem like a lot has been done, until I look at the differences. Just where to start from.....

The dome.

In order for me to cut the rest of the panels for the outer dome took another bit of convincing. After checking and more checking it was time to grind a slot. The jigsaw then came in for a bit of use to cut them out.

Eventually, over a period of time they were all cut out and the relevant ones filed round ready for the PSI's and holo projectors.


This led to the problem of the inner dome and several questions. How to fix it in, how to get the right height etc...

The inner was cut in half horizontally. this gave me the lip for the top panels and was duly stuck in with some VHB tape.

The bottom section was a different kettle of fish.
A vertical cut was made as it was the same size as the outer. This theoretically would give me a smaller dome to fit inside. It worked.....sort of!
A temporary fit seemed to work. Then when I put the VHB tape on, it went a bit pear-shaped.  It wouldn't conform to the shape, the 42mm I needed from the outer dome didn't happen.
What did you do? I hear you ask.
Well, after a lot of evenings trying to aluminium braze it, glue it etc I came to the conclusion to use small dome head bolts to secure it in. This led to the spacing problem, which is now sorted and the few bolts I have in do look good. Eventually I decided that I would just leave it bolted etc and try and fill the outer level by brazing (not done yet)


The dome support ring was then made a bit smaller to fit in the inner dome and then it was time to take R2-ST round the bloke for a walk.
People take their dogs so why not a droid!


Just as went back up the drive, a wheel came off.  A little lift/carry back and the wheels came off a few evening later to look at the problem. The grub screws didn't appear to be in the motor axle that much. A little drilling later on both feet motors and it seemed to be better. I may see about extending the axle to the outer foot side and supporting it thus spreading the load - but lets get R2 finished first.


Due to a wedding in the family - off which R2-ST was declined entry due to not being finished not a lot was done.


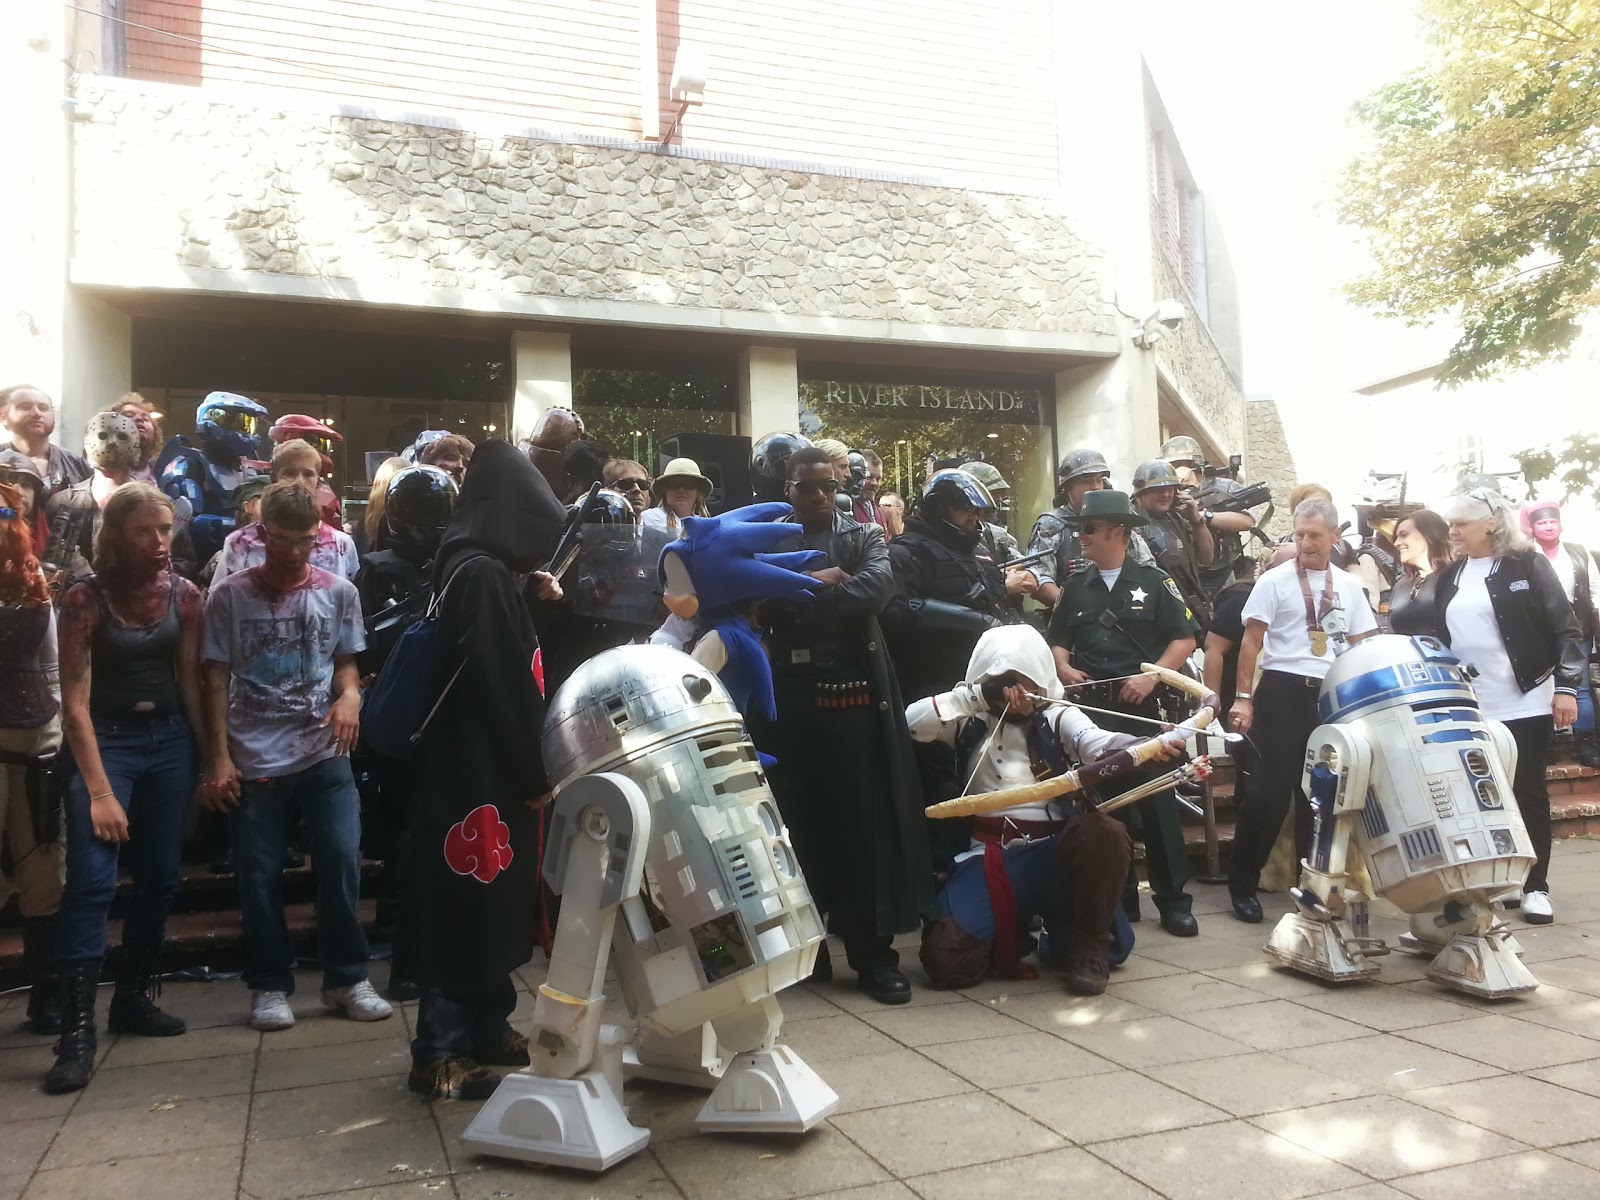
Until the week before Invasion Colchester. This saw R2 put together, with some sounds and batteries charged. It was a super way to spend my birthday with Simon Battell and his R2-D2. Having a moving droid is so much better and mine got a few photos despite being unfinished.


With the birthday money, a few bits were bought of which one was an amplifier, which the very same evening it arrived was wired in and had a little dance outside on the drive.
Skye is now tasked with finding a few Halloween sounds so R2 can accompany her next month.


Tuesday 25 June 2013

A snip and cut

Last week whilst marking the dome for the PSI and holo projector's, for some reason I thought I'd make R2ST the same as R2D2 and have a coloured band under the dome. So it was marked out and jigsawed (!)off. Just got to work out how I'm going to fix it on.

Tonight Matthew I'm going. ....... Oops wrong saying!
Tonight the holes were cut out ish. They are undersize  so easier to make bigger than the other way round. Before cutting any more, I have filed the pie panels for a less jagged look. This keeps the strength there with the narrow strips in between panels. Once I'm happy with these and the holes then I'll be cutting out the rest anf repeating the process on the inner dome.

That's it.  Except R2ST may be having a trip to North Weald on Sunday for Wings and Wheels radio control event.


Sunday 19 May 2013

Dome work begins - gulp!

At long last after having the domes in the garage and inspired by the Builders meet last week, I have finally taken the plunge and started cutting the dome.

It took about 4 attempts to get the angles right for the pie panels but eventually they were all marked up. They were marked by a circle cutter for the smaller radii, and the metal circle cutter for the large radii of hte panels. With these marked in ink and re-scored so it was easier to see a 3mm hole was made in each corner. I know R2-D2 has sharp coners but I'm making ours a bit different with smooth corners.

No turning back now!!


The dremel was used on the first panel with a little success - to be honest it was a pain on the neck.
So one the second panel using a 2.5mm drill, I drilled between the shut lines. The dremel was then used to cut through some of the smaller holes. Enough to get a hacksaw in and then saw away. That was so much easier, except the drill battery was dying.

That' better1


So with only 2 panels cut out, I retired indoors whilst the batteries charge up ready for after work tomorrow!!!


Tuesday 7 May 2013

Must try harder...

Must try harder to build in the evenings
Must try harder to build in the evenings....

To be honest, I find it hard to go in the DMW to carry on the build in the evenings which means not a lot of time at the weekends to build by the time I've done family time.

But I have been doing a few bits.

R2-ST had an appearance at Skye's school to show her class. The skins were strapped on and a dome on top. I even got the CBI and Dataport lights working for effect. On the way out, beckoned by another teacher and different questions from the children and an emphasis on always learning and problem solving. Just moving to the van and another teacher wanted a visit as they were talking about space. This extended into another 2 classes joining in!!!!

A few more bits arrived to do the slip ring connections and the holo projectors. And more importantly some parts to get some sounds. I have a 12 channel remote relay board which can remotely activate one of 12 sounds.
So tonight, I went out there for an hour and got the relay board wired up to an MP3 trigger board and IT WORKS.

Hurrah! Now its a case of putting R2 back together ready for its first UK Builders meet on Saturday where hopefully R2 will stay in one piece and it could be inspiring to get some ideas from the other builders.


Sunday 7 April 2013

Data Port Logic Bay

Well, not a great deal of progress this weekend.

Saturday, and I had the DMW to myself so I could re-silicone a few bits on the skins. While they were clamped together the skins were clamped to the frame to enable the data port to be configured correctly in its place.

All clamped up and nowhere to go 
I also cut some small Evergreen sections to form a border on the data port logic and give a bit of dimension to it. 

This led to Sunday, and after washing the car, van and hacking/pruning some plants it was a small amount of time to glue this on. 

A little bit of this...


While this was drying, a kick-about with Skye before giving the logic frame and port a few coats of primer. 

Monday 1 April 2013

Easter Build update


A change of job role means working office hours instead of shift work and that means less build time. Even with 4 days off for the Easter hols I managed to spend a day in the DMW.

Sunday morning was spent using silicone on the front skins after test spraying a piece to ensure paint would stick. It did, so I set about putting a bead of silicone all around the outer skin. Using lots and lots of clips and all the clamps I have the skins were stuck together. It was a bit difficult getting some hatches to line up - it appeared that the skins need to be a bigger diameter to line up than the 18 1/4inch!!!! Hopefully by using the silicone some give will allow everything to be filed to fit.

Ooh!La-La!


On the Monday an afternoon, whilst Skye was round a friends I managed to re-silicone some sections that hadn't stuck.


Where there's a wheel?
I also thought that it was time to make some holes in the dome support
ring. It was a nice windy day to help disperse the dust. I still have the centre hole to make for the slip ring wires, but at least its easier to get out the dome. The holes in the VXB bearing for the frame were drilled through and then it was a case of marking the bearing onto the support ring. Using a tried and tested method of walking round in circles measuring on opposites it was a nightmare. To make it easier to centralise, I placed it in the dome and that was a bit easier.  Once centralised, the bearing/ring relationship was marked and the hole location marked too.


Bulking out.


Just to do another bit of building, I mixed up some araldite (2k glue) and stuck the horshoes onto the legs. Looks good - even if I say so myself. When R2-ST goes to Skye's school it will look a lot better with the bulked out shoulders and a dome on top.


Data Port Logic Panel


Then to top the day off, a little play with the SK10 Data Port Logic surround. As the frame is not designed for this, it requires
a fix. I'm just trying to get this in the right position so that when the skins are on the panel is central-ish.


 But with the clocks changing and 2 weeks at least till the visit theres still time to a do a few more bits so keep an eye on the blog.......

Sunday 24 March 2013

It may be snowing outside......

Despite the cold weather, I managed to wrangle a day in the DMW, doing a bit to R2.

A few bits were rubbed with scotchbrite and sprayed with primer. Hopefully the cold weather won't affect the drying process.
Perhaps an unfinished R2 will be better?


I was also trying to work out how to stick the skins together and then mount to the frame. A little research and I have decided to use clear silicone to bond the skins when I buy some. In order to fix the skins to the frame, as I want the skins to be detachable I will be screwing them in somehow. Clamping the front skin to the frame and seeing where the tabs were on the frame, I opted to mix a bit of P38 filler to screw into.


A little filler here...


While this was drying, some surplus P38 was used on a greased under shoulder section to try and make a mould so that some metal infills cane be made. If this doesn't come out it's going to be fun getting the filler out. Hey!Ho!
..a little filler there.


Before the cold reached to far, I managed to generate some heat by soldering my spare Charging Bay Indicator board with some violet/purple LEDS. AS R2-ST will be purple it may look good to have matching (ish) LEDS when the door opens.
Cat-dog (yes, I know its a toy)  mesmerised by the lights


To end the day, a quick set-up on the laptop to ensure everything worked and 'Hey, presto'


Friday 22 March 2013

Work after Launch.


After the launch of the works FireBike (https://en-gb.facebook.com/EssexFireBike ) for the new season, it was home to clear the DMW floor space and work on the plan of action.


A little bit of sanding on the booster covers was followed by gluing some covers inside the skirt (just in-case the wind blows). A quick mix of P38 and the gaps were filled to make the skirt look a bit tidier. 


As the temperature was dropping and a steak was begging to be cooked, it took nano-seconds to decide that a few bits needed to be sprayed. 

Oooh!


So with one hand shaking the can, the other set up the spray booth on top of Skye's Toylander. A coat of grey primer was placed on the horseshoes and booster covers and a few coats of black on the rear section of the Data Port logic surround type bit thing!!!

Let's Build - well do a few bits

With the exam out of the way, I can crack on with building R2. This is a bit more urgent as Skye's school has asked me to take R2-ST in as part of their design and technology lesson after the Easter hols. So it would be nice to have a bit more done.

To start with and because it was a nice day, I thought I'd make the dome support ring. Copying an idea from  James ( http://astromecheadaches.blogspot.co.uk/ ) with his router to make the circle, I obviously improvised. A screw in the centre, a piece of string looped round the screw and router, and a router guide bar to help prevent the router from twisting.


Straight from the school of Bodge-it


 It looks crude, requires careful adjustment to make the diameter smaller BUT it works!!!!


Ta-dah!


It worked out that well that this was the end result. I quite please with how well it fits, but may need to make it smaller for the inner dome.


There was no wind this day, and the dust made a lovely cover over my van and my step-sons lovely Clio F1.  Hi-ho!


Monday 18 February 2013

No piccies - but more bits

No pictures for this update.
I've received a few bits from the USA last week. A nice superb quality set of rubber gizmo's for the domes PSI lights that diffuse the leds and look fantastic.
Also a SK-10 pack from Alex Kung who has made his whole droid from plastic in a slot and glue together form. The SK-10 is a data panel port that goes on the body and you'll never guess what!!!!! It means I have to cut'n'shut the frame a little for it to fit. But at last this part will still give a bit of strength to the frame.  Pictures will be posted as the panel is built.

Sunday 10 February 2013

Opening the Back Doors!

I sketched a front and back view of R2 to work out what bits I wanted on it - like a gripper, USB ports, LED lights etc. And a thought occurred to me (I side was a bit of a concern have fully rested from this now) I wonder if I can join the aluminium droids and have an opening back door. As my droid is styrene, the structural strength was a concern. Making a cuppa to keep me warm in the DMW, I trudged off and started cutting away.
Its not too late yet!

After the first cut it was no turning back. I cut through 2 uprights and through one of the rings. Another 2 uprights were removed (worryingly this was quite easy).
It is definitely too late now!!

The uprights were removed from the section of ring and this was then glued to the cut off uprights. Confused! Its simple if you look at the photos.

Ta-Daa!

The theory is that the skins will add strength plus I have a nice little idea that I've discussed with Skye to give a bit of strength and a nice little touch too (can't say what until its done)

Friday 25 January 2013

More electronics!!

Another productive bit of a day even though Skye (my co-builder!) was sent home from school with a funny tummy - yep! that old chestnut!.
After quickly, but properly, soldering the LEDs in with no filing to be seen it was time to program the Arduino to see it working.
Using my new netbook (xmas pressie from the wife) I had to download all the software and try and upload the program. It took me all afternoon for the netbook to pick up the COM port (?) but perseverance paid off and the result is below. I do need to solder on some wires and LEDS for the battery monitor. Like the dome displays these cant be added until a much later date when everything else is done. Little steps!!!


Wednesday 23 January 2013

A little progress

The dome has acclimatised indoors and I have printed off some plans with dimensions on so I can start marking out in the near future.

On other news, I have just spent about 2 hours watching the TV whilst filing the small lip off of 77 3mm LEDS. I did try swapping hands but it wasn't as effective.
These will now be soldered into the front logic boards tomorrow and that will be the dome lighting finished - hence the near future marking of the dome

Believe it or not some are blue!!

Thursday 10 January 2013

wot no piccies - boring!!!


Since the success of getting R2-ST moving on Boxing Day, I have spent a little time in the DMW (Design & Maintenance Workshop) doing little bits.
Both PSI's are now completed and tested, work has begun on the front logic displays and this involves filing each 3mm LED to ensure the bezel fits. Slow progress.
The backs of the utility arm boxes have been cut out and are drying as I type.

As the weather is getting colder, I have managed to sneak a dome indoors to acclimatise. This will then allow me to start marking out the panels etc, ready for cutting. The cuts will determine where the cuts are needed for the inner dome.  Going to be nervous cutting it out, cos if it all goes wrong!!!!!!!

Got to start working on it in earnest now as there's a big event up North that the UK R2 Builders have been invited too for the Help For Heroes charity. Check this link for guests, dates etc https://www.facebook.com/photo.php?fbid=287421114711896&set=a.287420724711935.67818.278960765557931&type=1